Hey everyone! I decided to use some scrap paper instead of new paper! Make this a challenge for everyone to make a card with scrap paper! ; ) Enjoy the tutorial! Also I tried a new photo technique hope you like it!

Here's the supplies I used.. but I forgot to put in the craft sisccors I used in the later pictures and some red jewels.
Stampin' Up! Modern Label Punch
Stampin' Up! Word Window
Stampin' Up! Teeny Tiny Wishes Stamp Set
Scrap orange ribbon
Pattern paper from The Paper Studio
Pewter Brad from The Paper Studio
Scrap White Cardstock
Scrap Stampin' Up! Wild Wasabi Cardstock
Scrap Pink Cardstock
Scrap Orange Cardstock
Stampin' Up! Wild Wasabi Ink Pad

I cut the Wild Wasabi at a standard card size of 4.25x5.5, then I trimmed the pattern paper 4 1/8 x 5 3/8. Then I folded the corner of my pattern paper and used a hole punch for the brad. This is a large pewter brad, and I wouldn't suggest this size hole punch with smaller size brads.

Next, I trimmed some pink cardstock with some craft scallop edge sisccors, I figured why not? I found these in my collest! No one uses these anymore. It looks pretty spiffy to me ; ). I trimmed the pink to fit the pattern cardstock and adhered this to the top layer.

Next I added some white stitching around the pink... I would discard that part.. bad descion on my behalf : ). But I just cut some scrap orange satin ribbon to size and adhere this to the back of the patterned paper and adhered the paper to the wild wasabi.


Now I used these two
punches and punched
out the white with the Word Window and Orange with Modern Label.

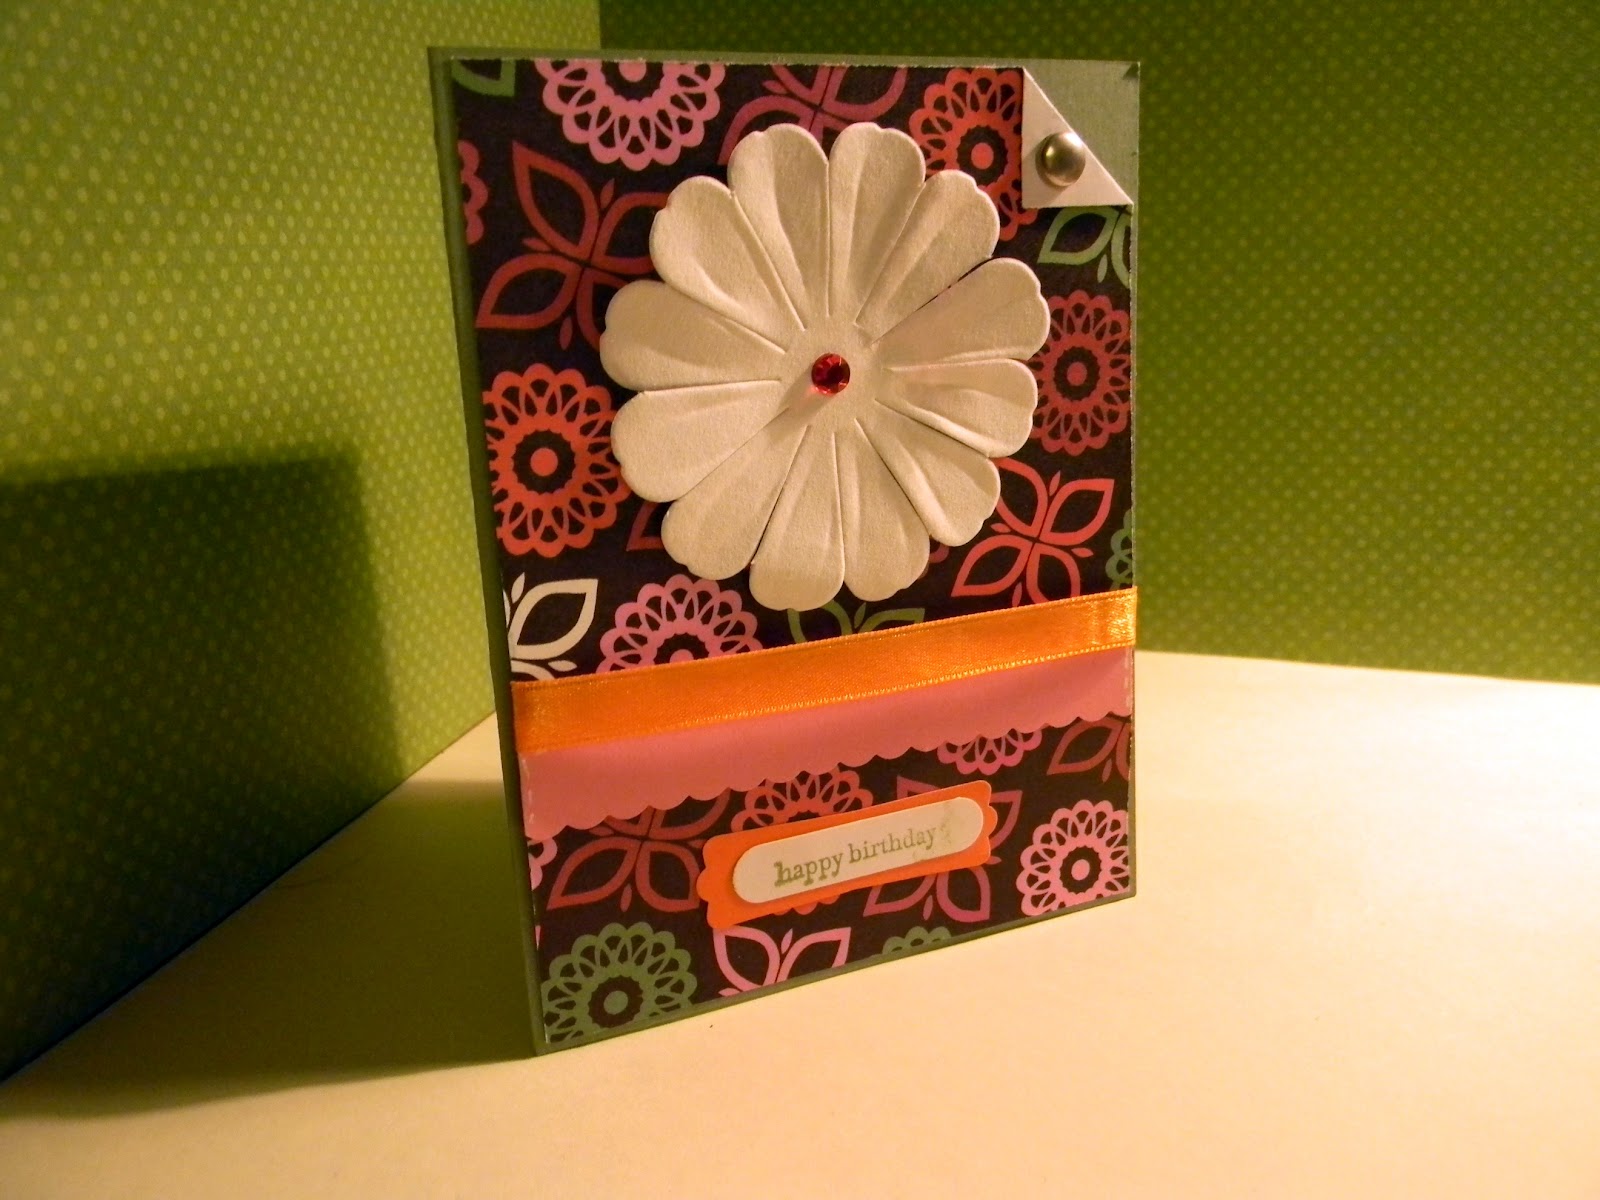
Here I used a left over paper flower from The Paper Studio and I adhere this to the card. Then I put a small red gem on the middle of the flower. I also stamped the white cardstock with teeny tiny wishes stamp with the Wild Wasabi ink pad and adhered it on the orange punch. Then adhere them to the card at the bottom.
Here's the finished product! Thanks for reading!