Showing posts with label Red Gems. Show all posts

Wednesday, May 2, 2012

Summer Flag Card

Hey everyone! Hope your week is going well.. As you can see there has been more free time for me and the cardmaking will begin to pick up! I hope your enjoying my tutorials! : )


Here's the card for today! : ) I really like the layered look from the card on Tuesday so I decided to replicate it again some how. I also found these flags from a die cut pack I bought at Micheals Craft store around Valentines Day that I never used so this works out well! : )


Here's the supplies basket for today! : )

My Minds Eye Miss Caroline Paper Pad
K&Company Flag Die Cuts
Versa Mark Ink Pad
Teeny Tiny Wishes Stamp Set
Modern Label Punch
Word Window Punch
Zing! White Embossing Powder
Gel Pen
Small dimensionals
Pink Cardstock
Corner Rounder
Red Gems
Pink organza Ribbon

Thats a mouthful! But great results come with it! ; ) By the way feel free to email me pictures of your designs and you could be featured on the next card tutorial!


Here I did the same layer idea from Teusday's card and I used my 4-1/4x5-1/2 pink base cardstock, the cut my patterned paper at 4-1/4x5-1/2. I then cut some pink cardstock out at 3-5/8x4-7/8.


Here I took my third pink cardstock layer and I corner rounded the edges of the layer and then I cut some pink organza ribbon and addhered it to the back. I took a small red gem and placed it in the bottom left corner as well!


Here I punched out with my Modern Label Punch out of the second layer pattern and then I used my sentiment 'Just For You' And used the same technique as the card on Tuesday.
- Stamp the image/sentiment in VersaMark Ink
- Spread embossing powder over the entire stamped image
- Tap off extra and heat with heat gun
This is so simple and looks great! Then I punched it out with my Word Window Punch and placed dimensionals on the back of it. And adhered the punched images to eachother and then onto the bottom right of the card.


Here I used my flags and spread them out evenly and adheared them to the layer just below the ribbon in a curved shape.


Here is the final look. I used my white gel pen to add some dash lines at the top above the ribbon and a line with bows for where the banner goes. Every detail counts in card! Don't ever forget it! : )

Friday, March 9, 2012

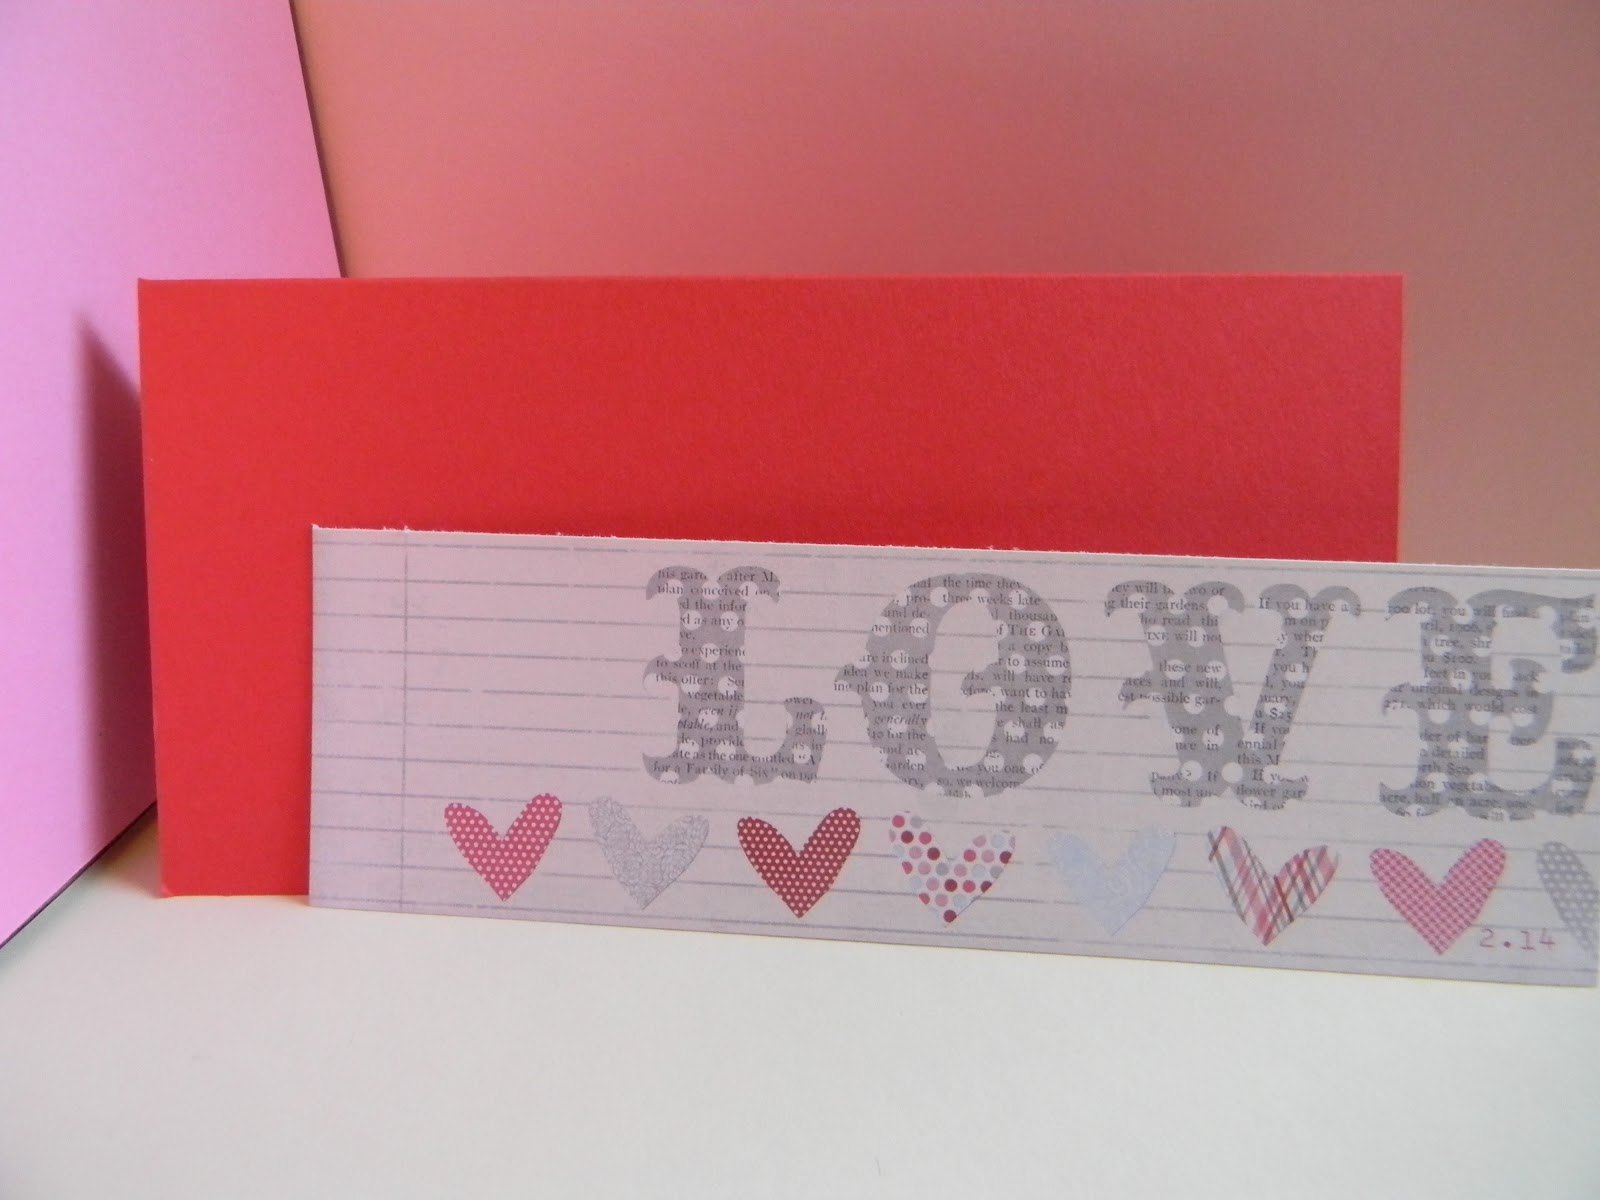
30 Day Card Challenge Card # 5 - LOVE Pattern


Ok so this was today's card plan! I decided to make something a little easier! It's so easy you'll be like 'Shut the Front Door!' easy. So let's get started!!


Here are the supplies used.. but ignore the pink ribbon again! I used red organza ribbon instead!

Stampin' Up! Heart Punch
Red Gems
Red Organza Ribbon
Love Me Paper Pad
Red Cardstock

Keep reading for the tutorial! : )


Ok so the LOVE is from the LOVE ME paper pad and I just cut it out. The paper pad is 6x6 so I made my base cardstock 3x6 or I cut it out at 6x6 and scored at 3". So I just trimmed the LOVE and adhered it to the card.


Here I used patterned paper from the same paper pad that matched the hearts under the LOVE. I cut it 1-1/8x6 and adhered it above the LOVE.


I cut the red organza ribbon at 7-1/2 and wrapped it around the card just above the line of paper.


Here I punched out with my Heart Punch the above pattern and added a dimensional to the back. The I put the smaller red gem on the heart and addhered it to the blank space of the card.

Thanks for tuning in! Ill see you tomorrow!! : )

Thursday, February 23, 2012

Floral Birthday Card


Hey everyone! I decided to use some scrap paper instead of new paper! Make this a challenge for everyone to make a card with scrap paper! ; ) Enjoy the tutorial! Also I tried a new photo technique hope you like it!

 Here's the supplies I used.. but I forgot to put in the craft sisccors I used in the later pictures and some red jewels.

Stampin' Up! Modern Label Punch
Stampin' Up! Word Window
Stampin' Up! Teeny Tiny Wishes Stamp Set
Scrap orange ribbon
Pattern paper from The Paper Studio
Pewter Brad from The Paper Studio
Scrap White Cardstock
Scrap Stampin' Up! Wild Wasabi Cardstock
Scrap Pink Cardstock
Scrap Orange Cardstock
Stampin' Up! Wild Wasabi Ink Pad


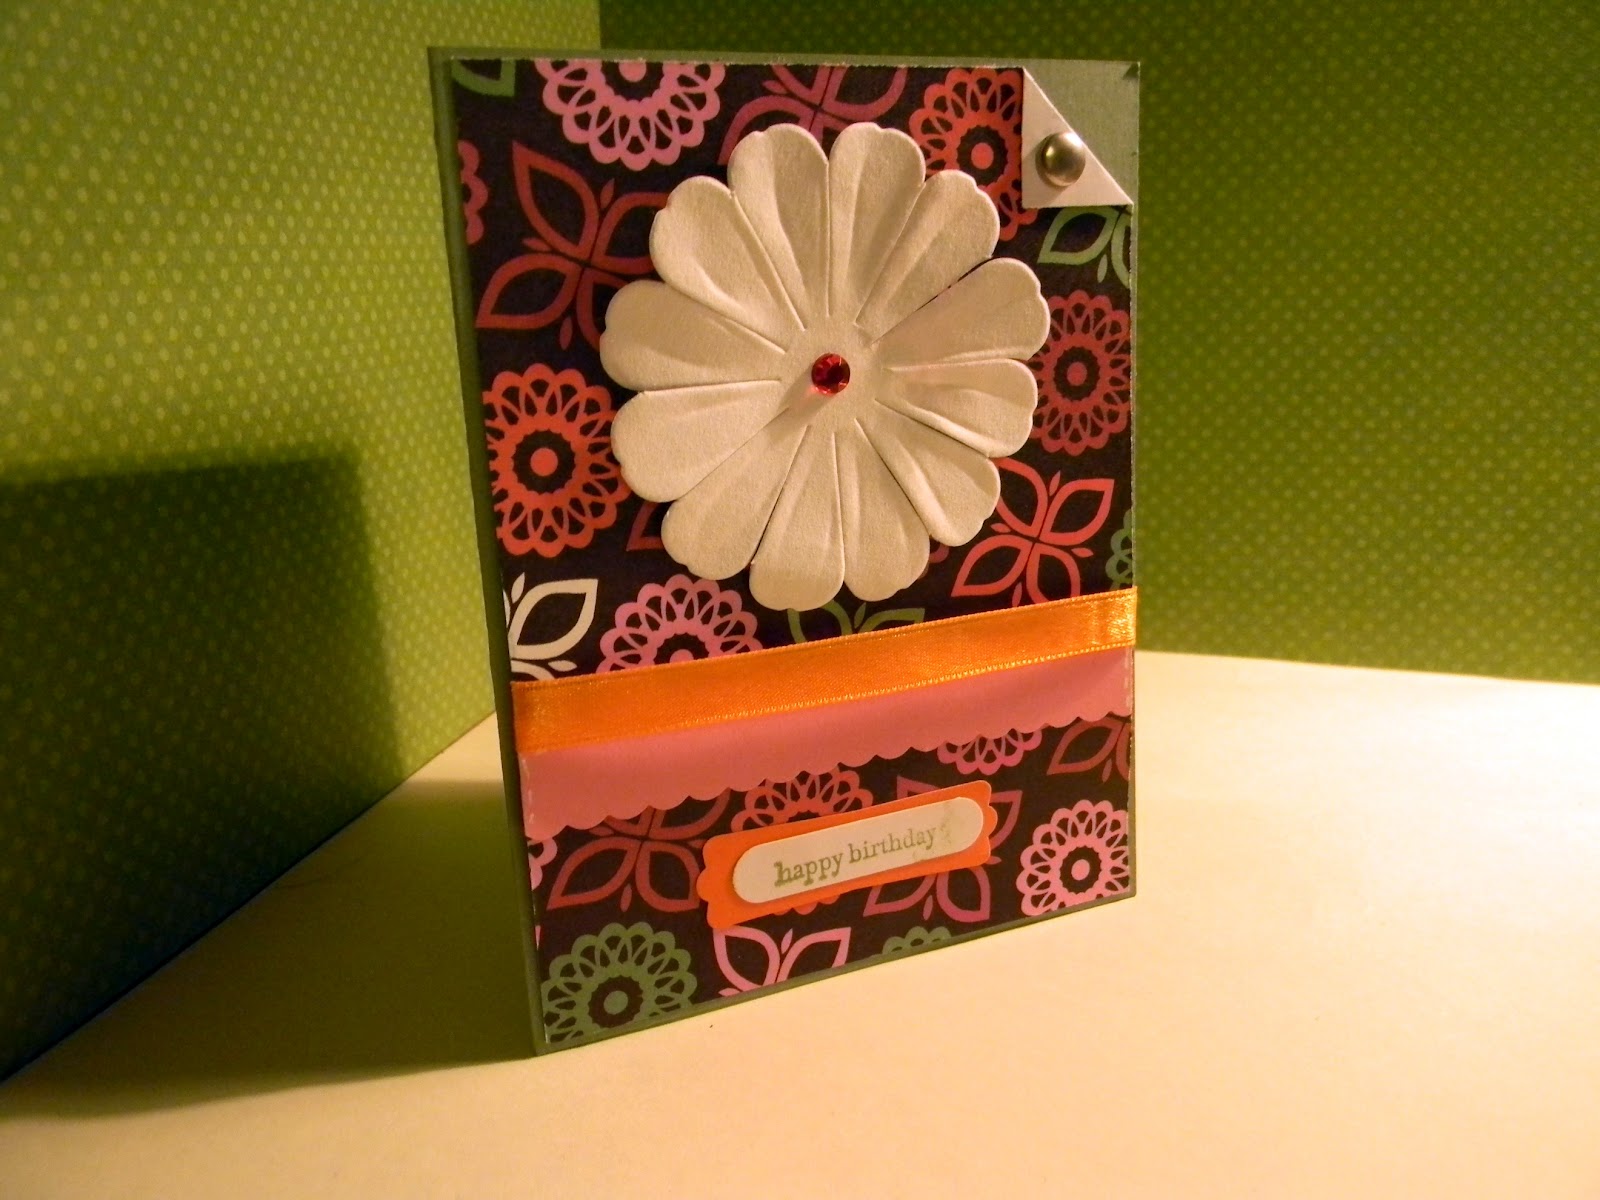
I cut the Wild Wasabi at a standard card size of 4.25x5.5, then I trimmed the pattern paper 4 1/8 x 5 3/8. Then I folded the corner of my pattern paper and used a hole punch for the brad. This is a large pewter brad, and I wouldn't suggest this size hole punch with smaller size brads.


Next, I trimmed some pink cardstock with some craft scallop edge sisccors, I figured why not? I found these in my collest! No one uses these anymore. It looks pretty spiffy to me ; ). I trimmed the pink to fit the pattern cardstock and adhered this to the top layer.


 Next I added some white stitching around the pink... I would discard that part.. bad descion on my behalf : ). But I just cut some scrap orange satin ribbon to size and adhere this to the back of the patterned paper and adhered the paper to the wild wasabi.
 
 Now I used these two
punches and punched
out the white with the Word Window and Orange with Modern Label.


Here I used a left over paper flower from The Paper Studio and I adhere this to the card. Then I put a small red gem on the middle of the flower. I also stamped the white cardstock with teeny tiny wishes stamp with the Wild Wasabi ink pad and adhered it on the orange punch. Then adhere them to the card at the bottom.


Here's the finished product! Thanks for reading!